
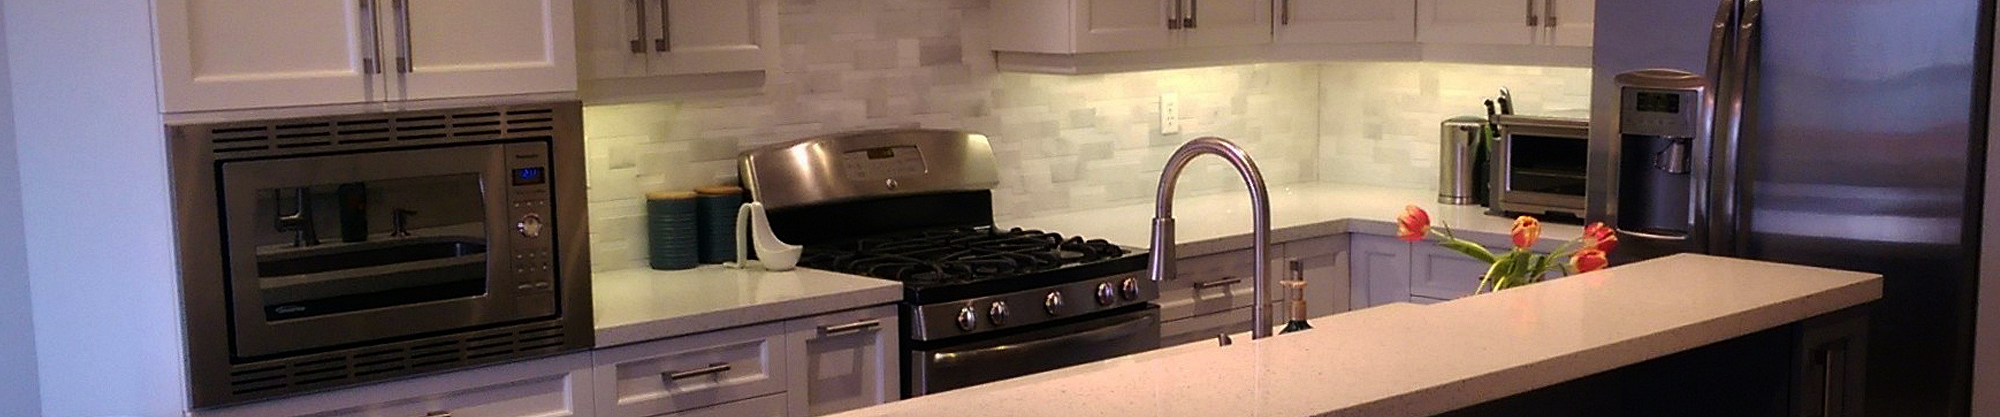

Are you bored with the old look of your kitchen? Want to give it a makeover? Painting your cabinets is an excellent and cost-effective way to revamp it. To paint your kitchen cabinets perfectly without spending a lot, you need to implement the right techniques. This blog outlines tips and tricks for painting kitchen cabinets on your own.
Guidelines to Painting Your Kitchen Cabinets
Pick the Right Paint and Colour
To give your kitchen cabinets a smooth finish, choose the paint and colour best suited to your décor. Never apply wall paint to cabinets as it cannot withstand repeated cleaning. Instead, use alkyd enamel paints as its self-levelled formula gives cabinets a smooth finish and lasts a long time.
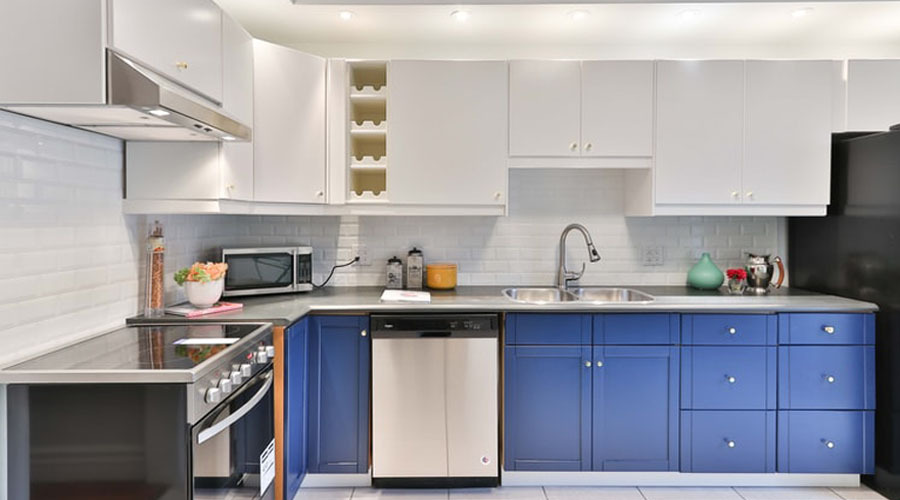
When it comes to choosing kitchen cabinet colours, consider your furniture’s style and size. If you have a contemporary kitchen, go for bright colours and tints such as red, green and yellow. Have a traditional kitchen? Go for subtle hues such as whites and creams. The colour of your kitchen cabinets can also create the illusion of a larger or smaller space. Do you have a big kitchen? Add dark cabinets. If your kitchen is small, install cabinets in a light shade.
Remove Hardware and Doors
Reinstalling kitchen cabinets gets easier when you remove all hardware and doors. You need to know where the doors go exactly in order to put them back in the right place. Select a starting spot in your kitchen and number your cabinet doors as you remove them. It is advisable to write down the door number below where the hinge goes. Place tape above it so it does not matter if paint trickles down.
Number every hinge to make putting them back easier. Also number each piece of hardware, and place every door’s hardware inside a plastic bag taped to the cabinet interior. If you do not paint the cabinet interiors, store the hardware inside. If you want to paint the cabinet interior, you will need a different system.
Sand Drawer Fronts and Doors
Use an orbital sander to refinish your wood cabinet doors and drawer fronts. You can also use various grits of hook-and-loop sandpaper to get the work done. Start by sanding every drawer front and door with a coarse paper, followed by medium and fine sandpaper. To remove all scratches and give your cabinets a smooth finish, repeat sanding with the fine grit.
Once you are done sanding all the doors and drawer fronts, use normal sandpaper to sand down in the grooves. It is not necessary to sand the backs of your cabinet drawers. Ignore sanding cabinet parts attached to the walls as this will require too much sandpaper. To clean any grime or grease on the cabinets, wipe them using dish soap and a damp rag. Then use a dry rag and tack cloth to wipe them out. Tack cloth helps get rid of each particle on the cabinet surface and prevents damage to paint caused by sanding dust.
Begin Priming
After sanding and wiping down sanded surfaces, start priming. Use tiny wax-lined cups to elevate cabinet doors for priming and then painting. These cups prevent their sticking to the paint. Pick an angled brush to paint the interior of grooves in your kitchen cabinets. Roll a foam roller in the primer and then coat door backs and sides with it. To prevent the brush strokes from being visible, follow up with the roller.
Give the primer time to dry. If need be, apply a second coat on cabinet doors and drawers. Make sure the wax-lined cups do not leave marks. Once the primer is fully dry, wipe a fine grit sanding sponge over all the drawers and doors to smooth wood grains. For best results, prime the cabinets with both a foam roller and paint brush. Apply primer in the grooves using a paint brush and use a roller to apply the rest.

Start Painting
When it comes to painting your cabinets, start with the back as it prevents getting cup marks on the painted surfaces. Use a paint brush to paint any groove. Then, cover the sides and back of the cabinet doors with paint using a foam roller. Allow it to dry before applying another coat. When painting the drawers, paint the back of the front piece. Shift the drawer to a point from where you can paint the rest easily.
Once the first coat on the cabinet backs dries, apply another. To prevent any stains from the cups on the painted surfaces, dry out the doors completely overnight. If you see any raised wood grain, use a fine grit finishing sanding sponge to even it out. Cover all the cabinets on the kitchen wall by lightly using the sponge. Always use a high-quality foam roller to paint your kitchen cabinets so the paint does not drip or pool up from anywhere.
Reattach Hardware and Doors
After your painted cabinets are completely dry, put everything back in its right place. Use a cordless drill to reattach the cabinet hardware. (This is faster than using a screwdriver.) You can keep the hardware organized without thinking about how to reattach it.
To open and close cabinet doors and drawers easily, attach knobs and pulls. Such simple additions to your kitchen cabinets add functionality and beauty to your furniture. Not every cabinet or drawer requires pulls and knobs, but adding them makes a significant difference to their looks.
Hopefully, these tips will help you paint your kitchen cabinets the way you want within your budget. Doing so gives your kitchen a new dimension by setting it apart and adding resale value to your property. However, if you do not have the essential painting tools, it is better to seek help from experience kitchen cabinetry professionals.